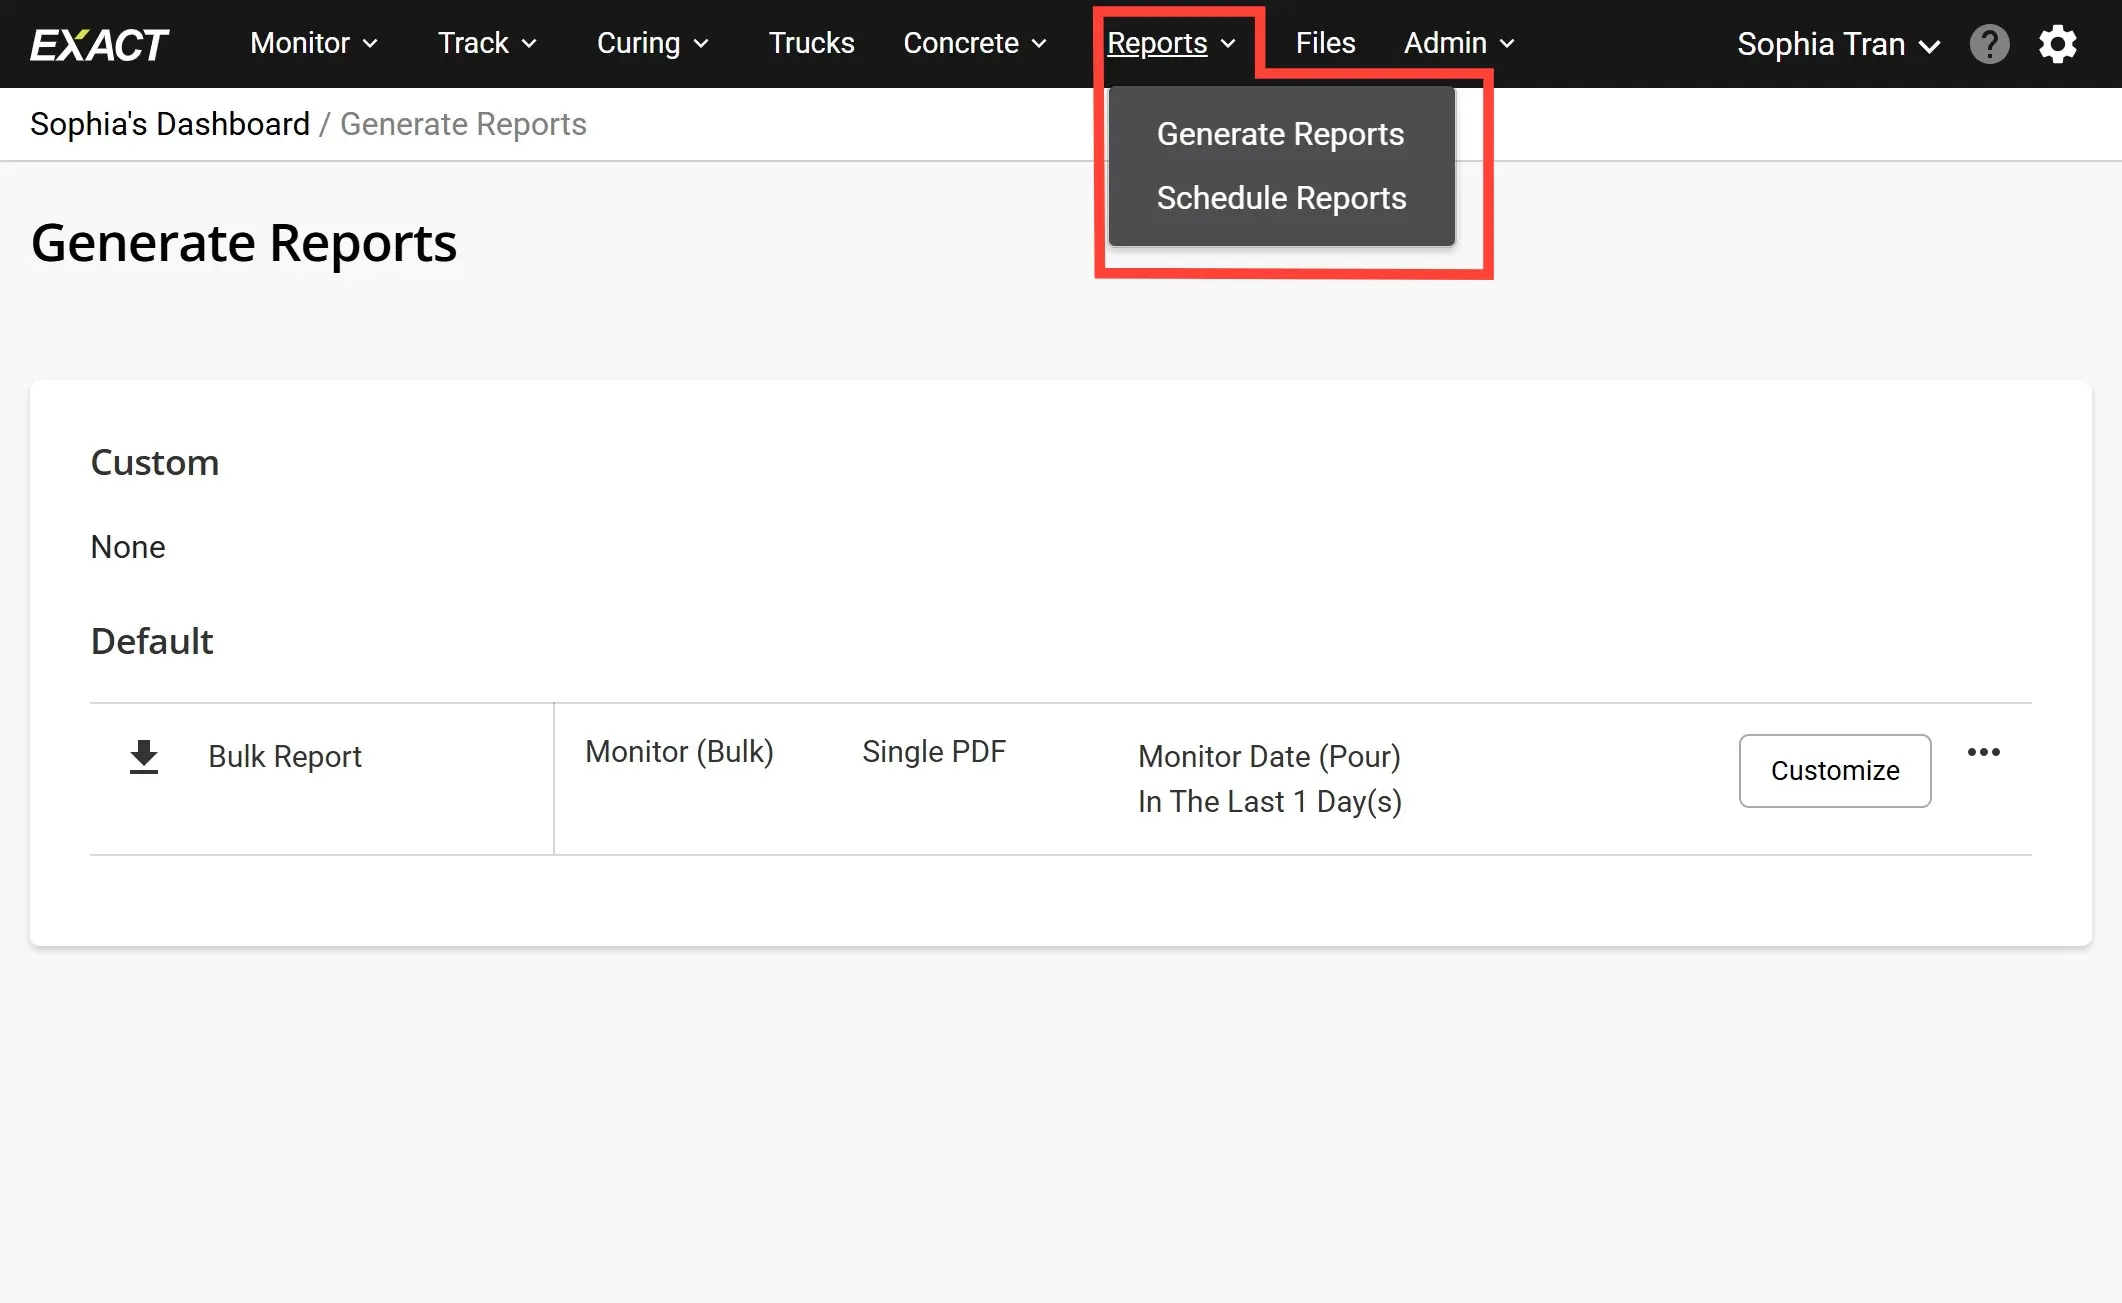
01 To create custom reports of 1 or more Elements, navigate to the Generate Reports page under the Reports header.
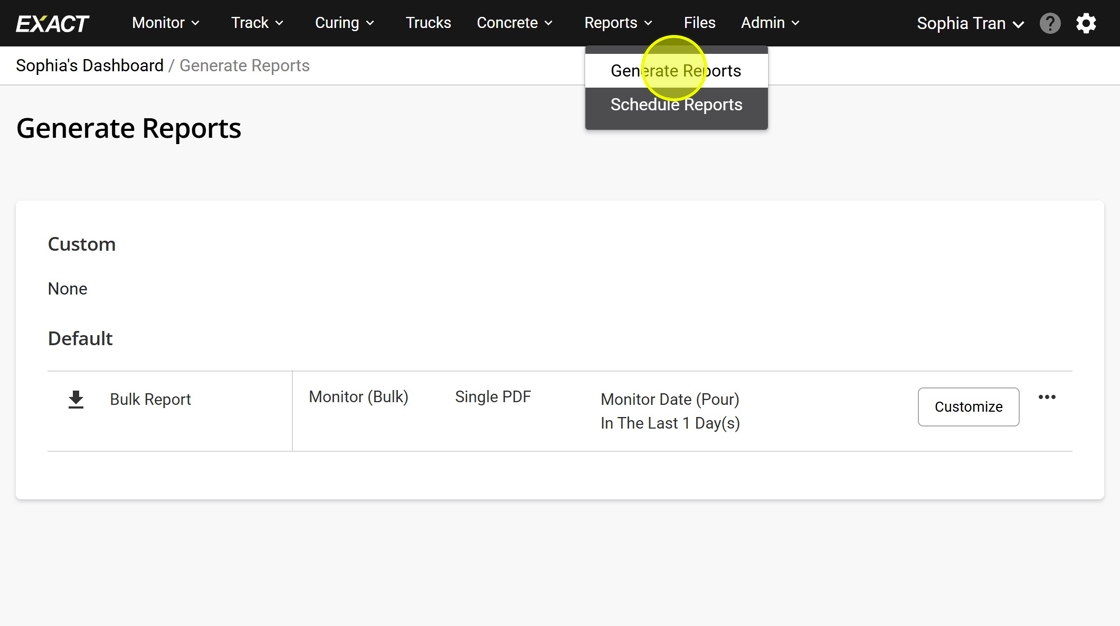
02 The Default section contains preset reports provided by EXACT Technology. The default Bulk Report creates a report of all active Elements in the last 1 day.
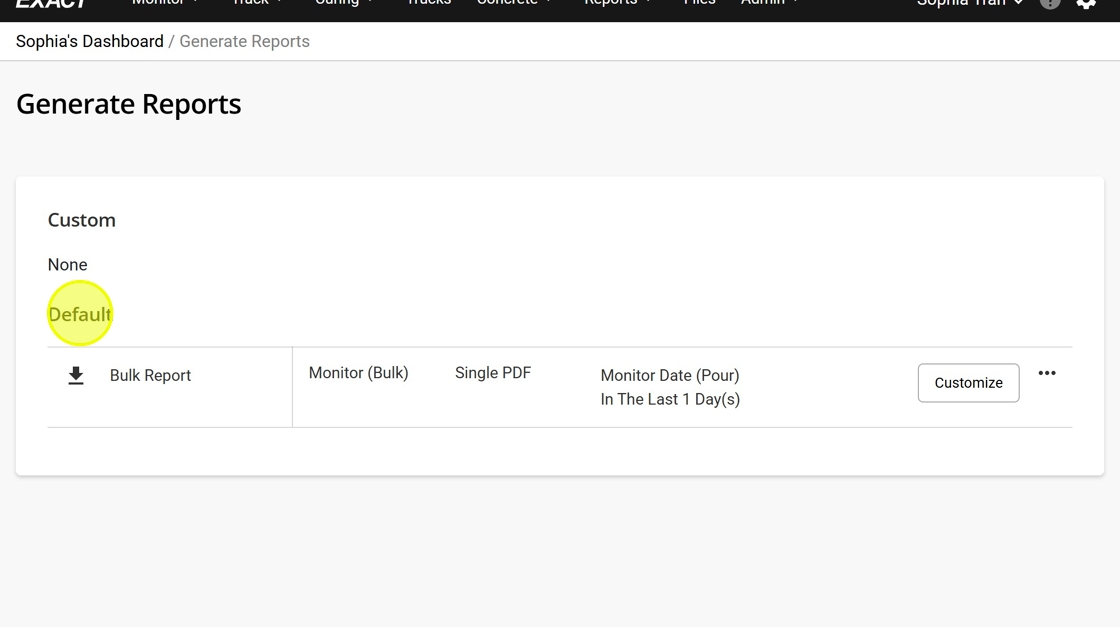
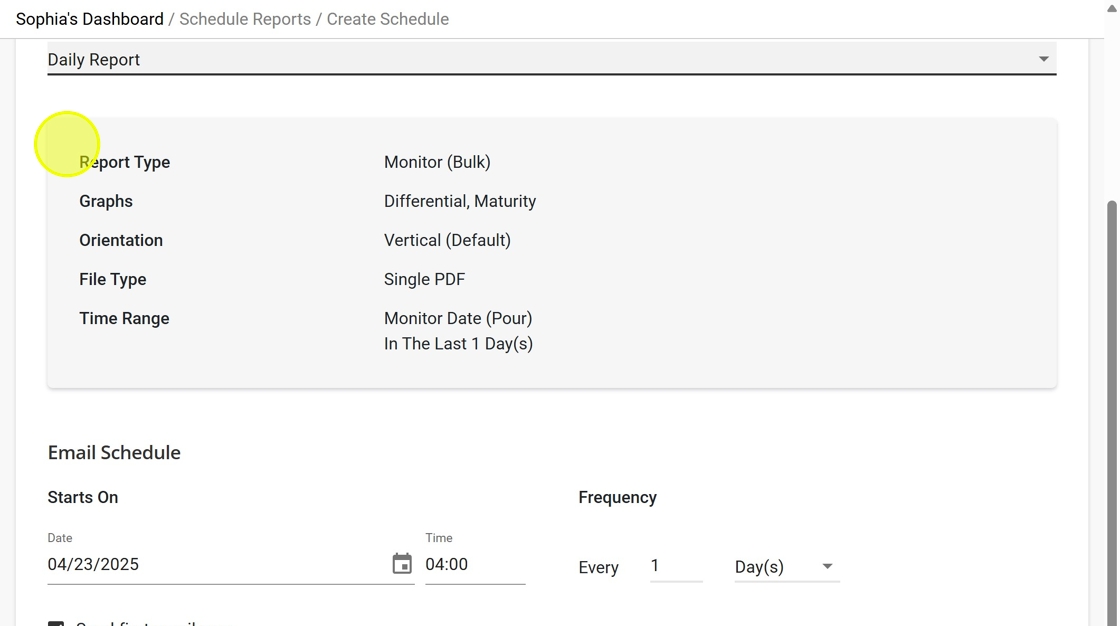
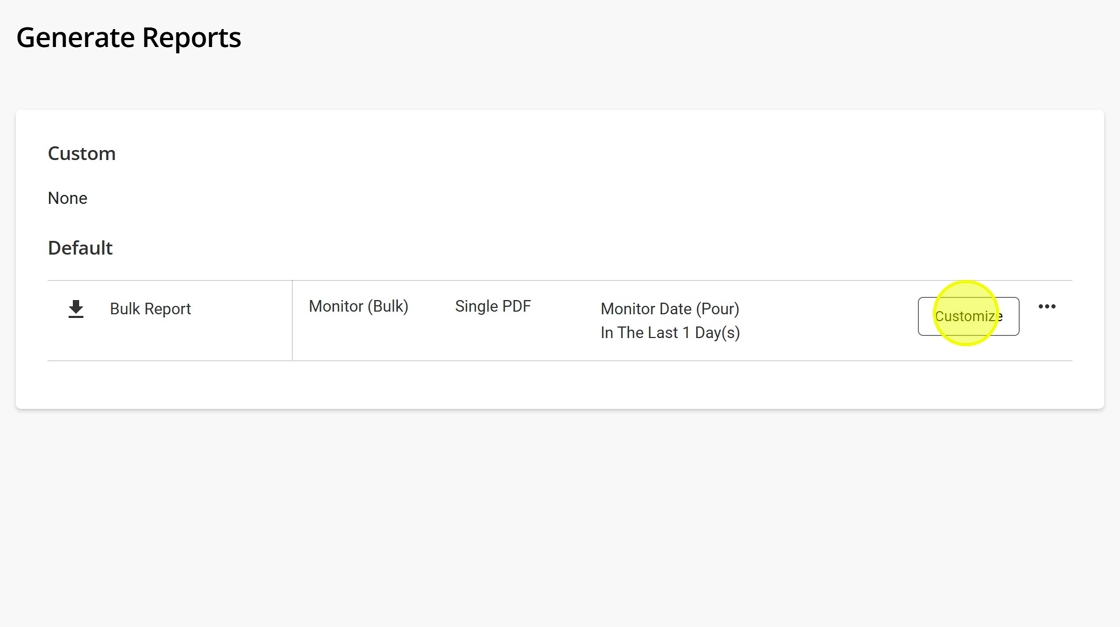
03 To create your own reports, you can customize an existing Default report.
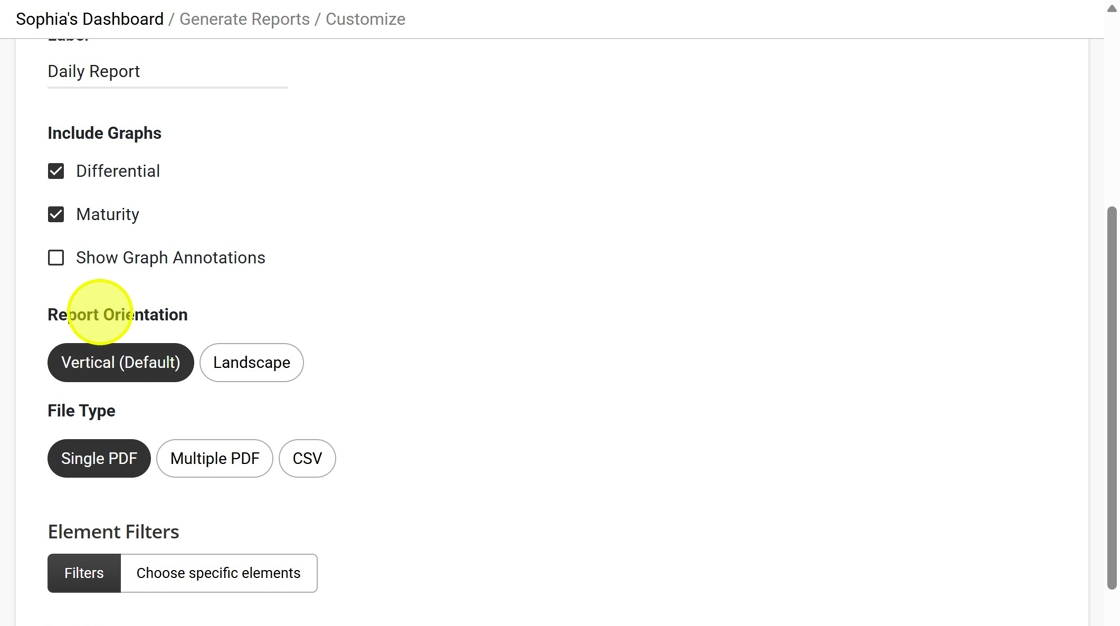
04 Label the customized report with an easy to identify name.
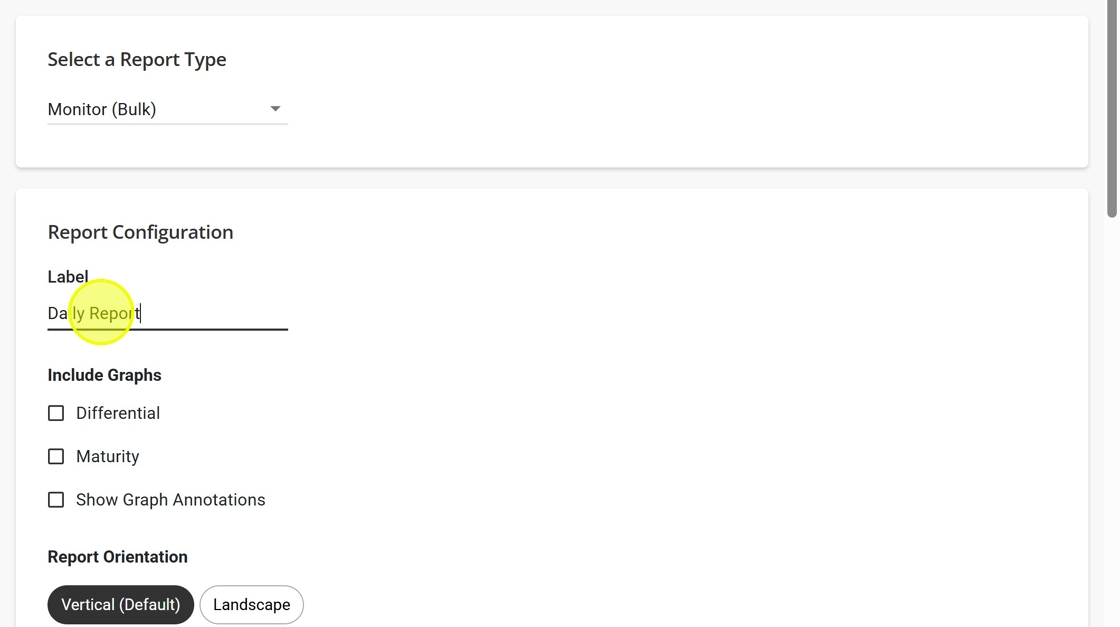
05 Select the types of graphs to be included for each element in the Include Graphs section.
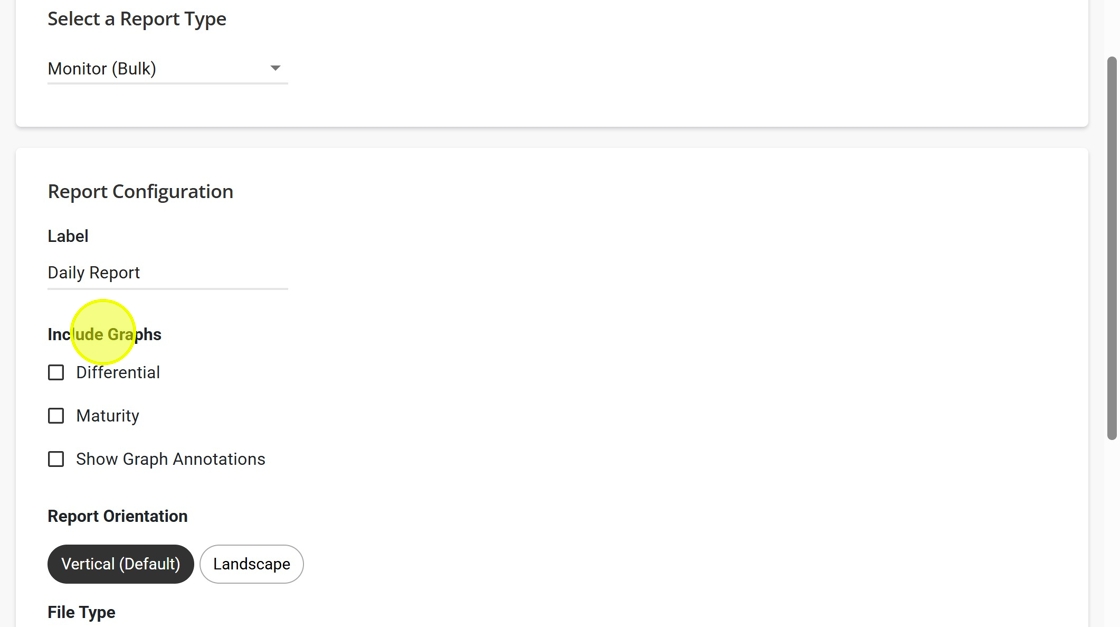
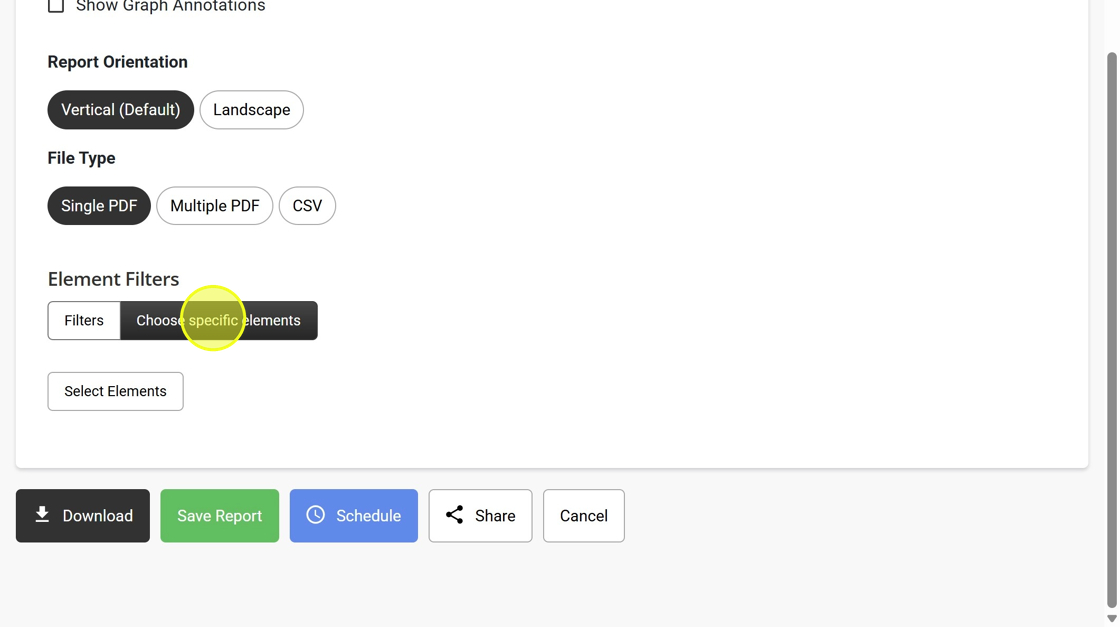
06 Select the page orientation for the report under the Report Orientation section.
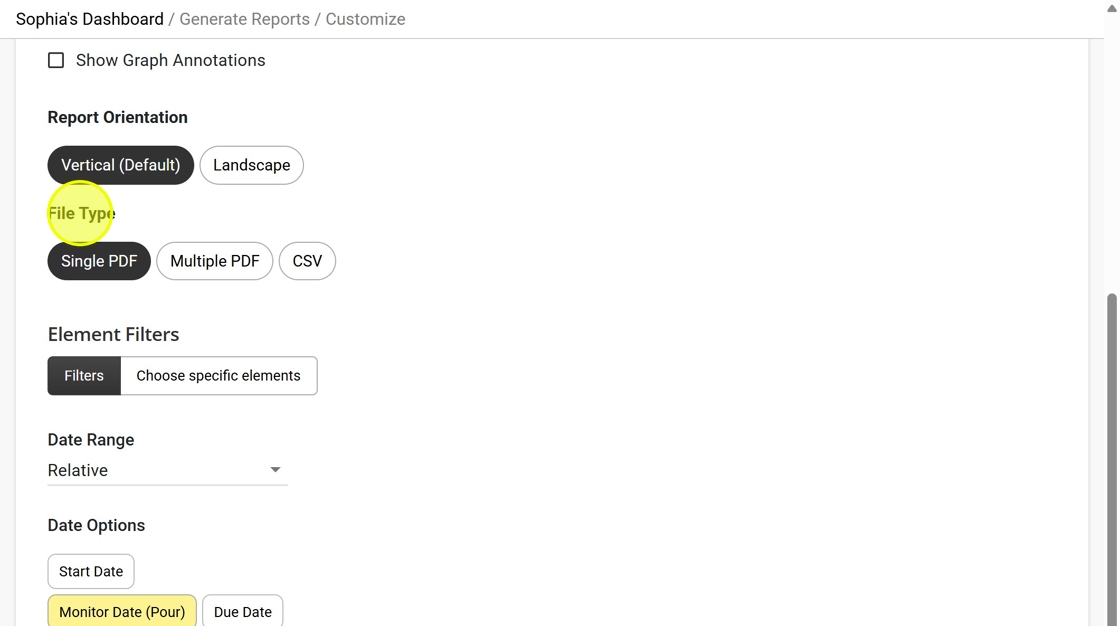
07 The File Type section provides 3 different options.
- Single PDF collects all Elements and Graphs into 1 pdf file.
- Multiple PDF will create a separate PDF file for each Element.
- CSV provides a CSV file of Element information.
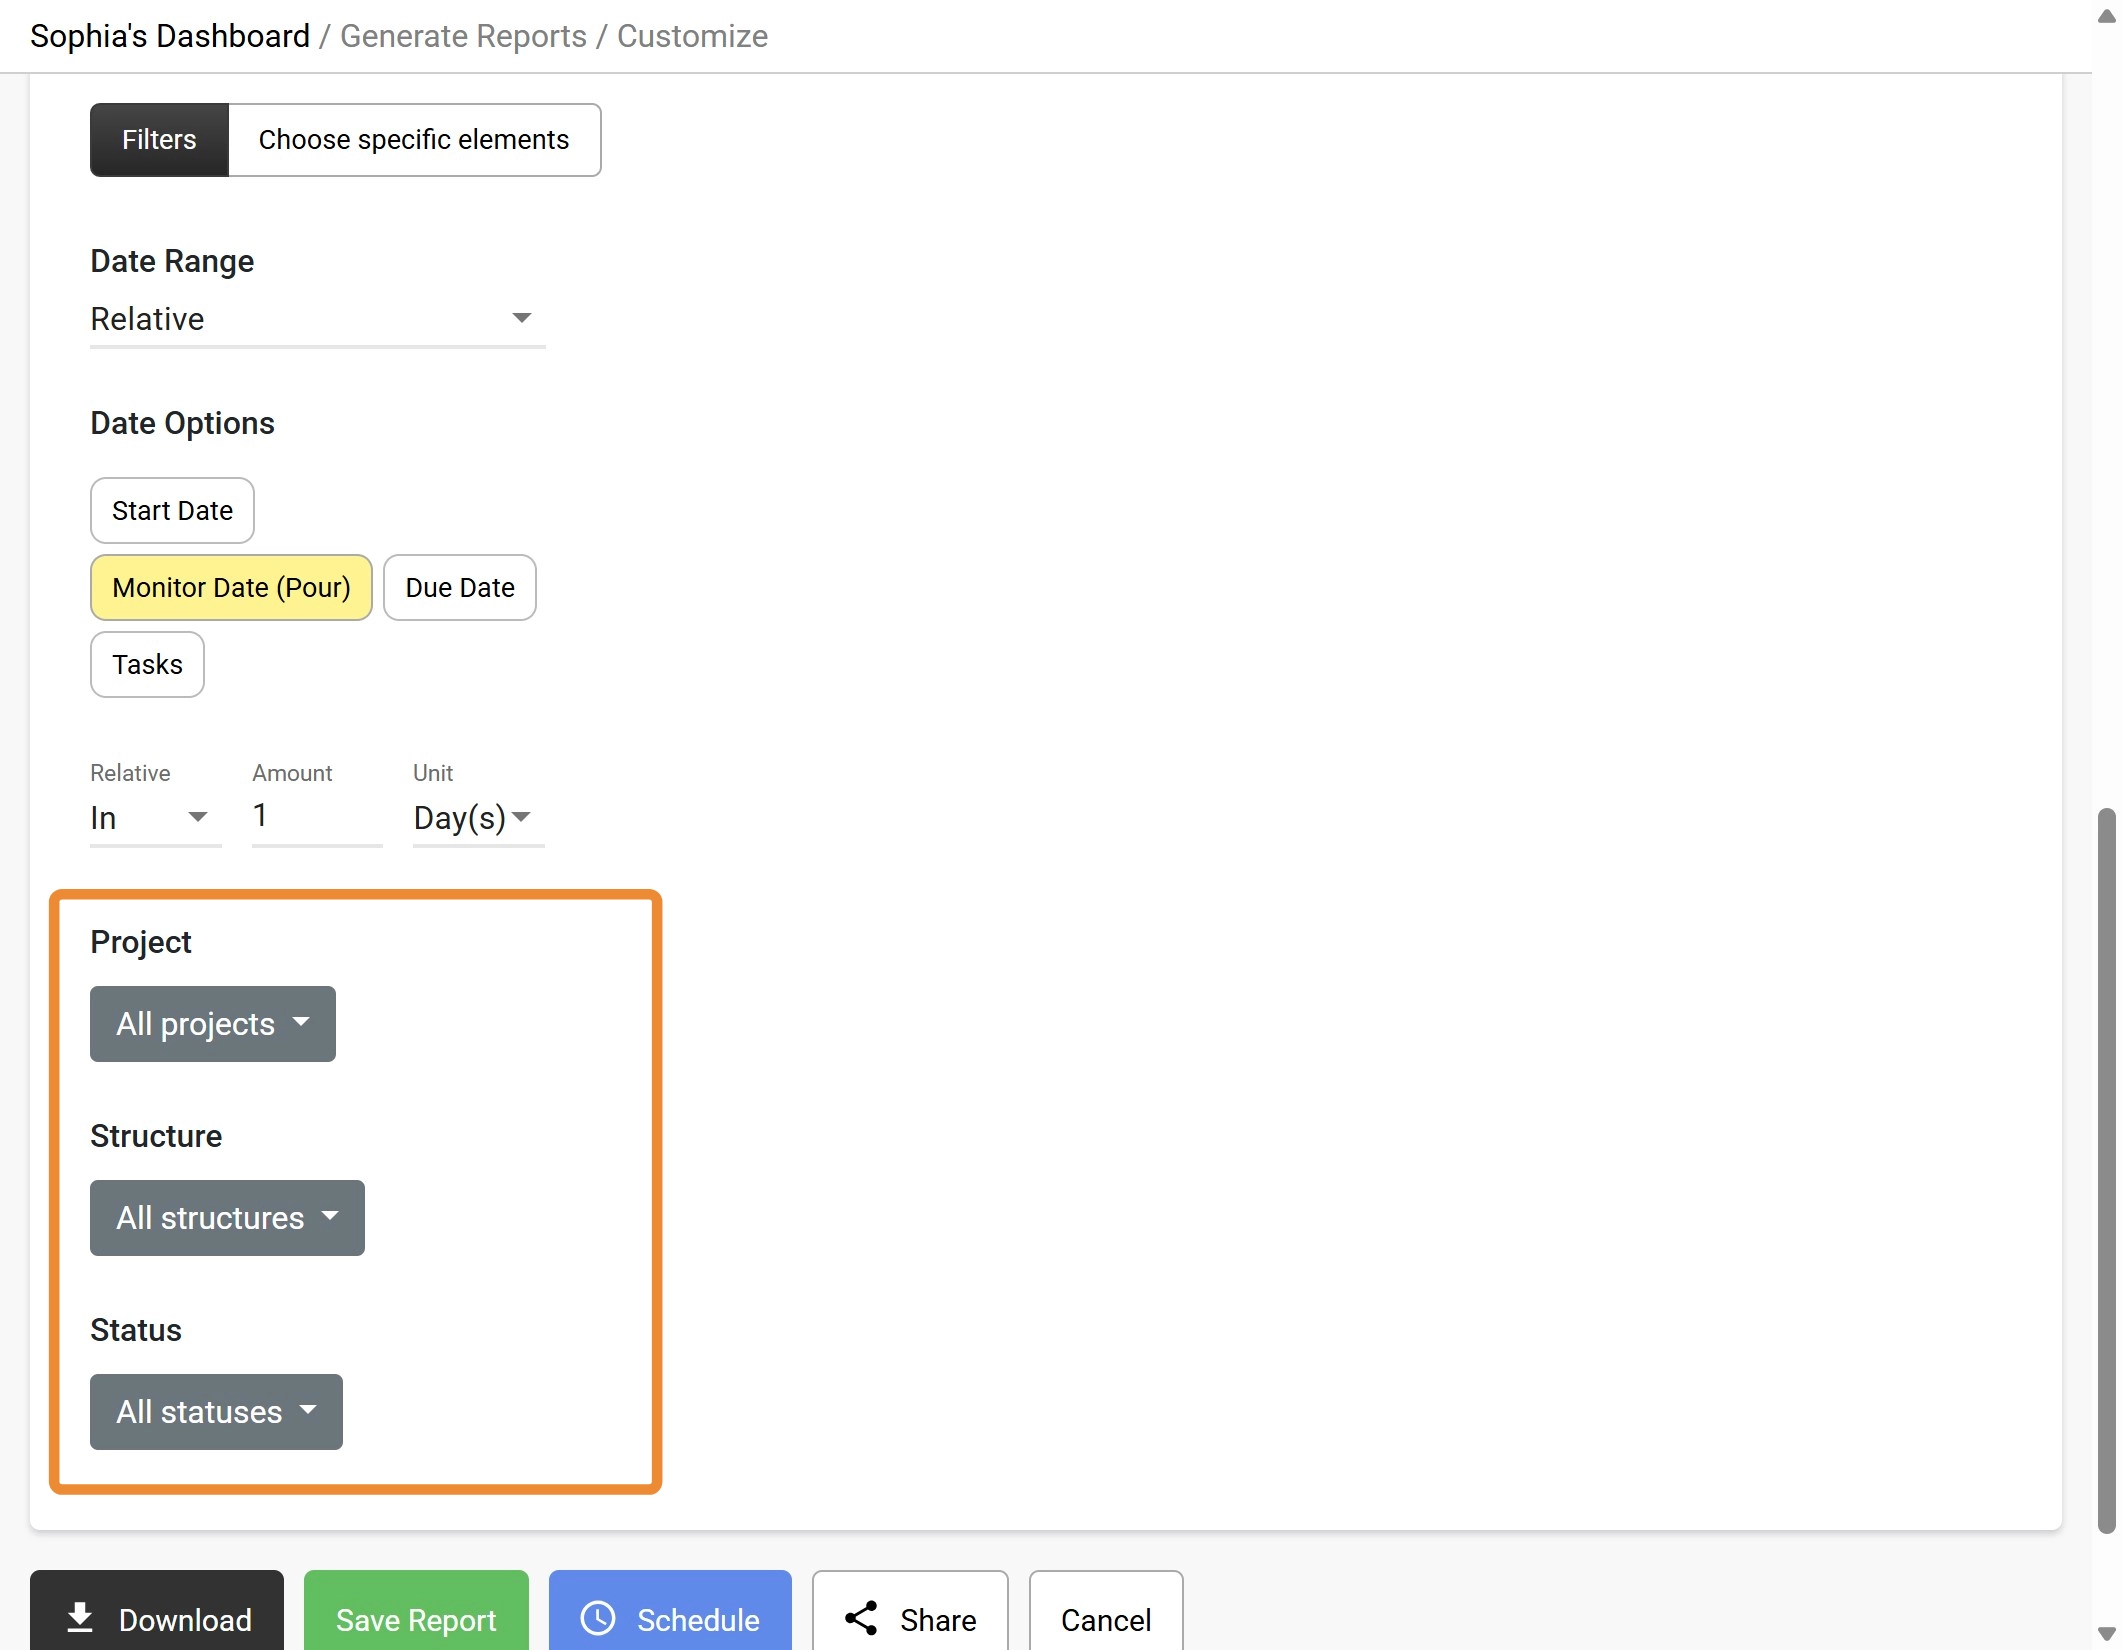
08 The Element Filters section is where filters can be applied to adjust the Elements selected for the report.
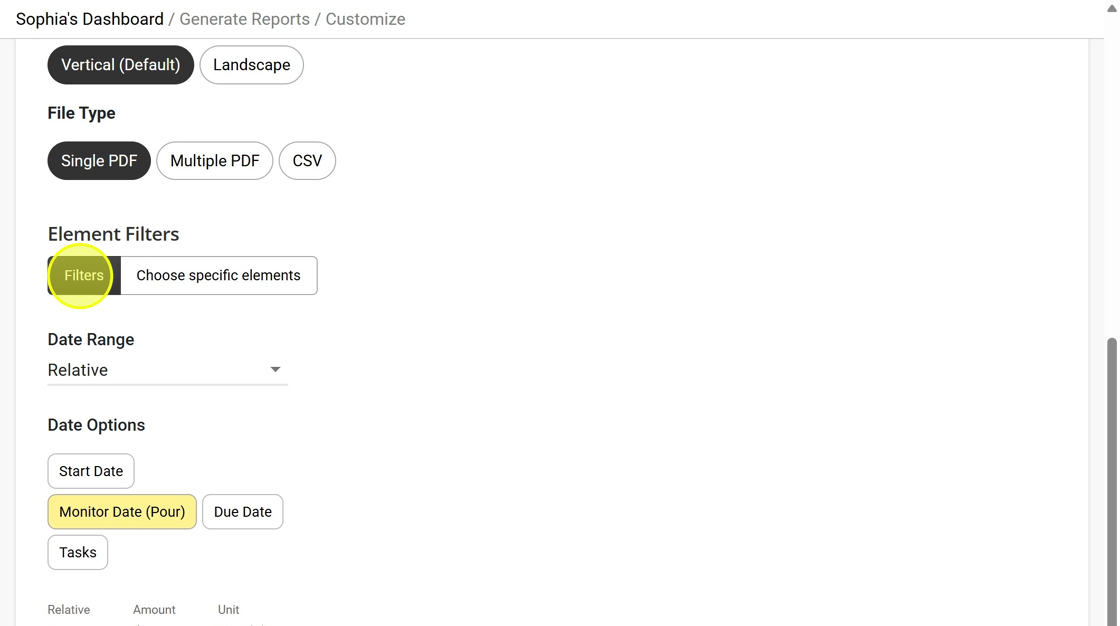
09 By default, Generate Reports will include all Elements with a Monitor Date (Pour Date) within the last 1 day. The Date Range and Date Options allow this to be adjusted.
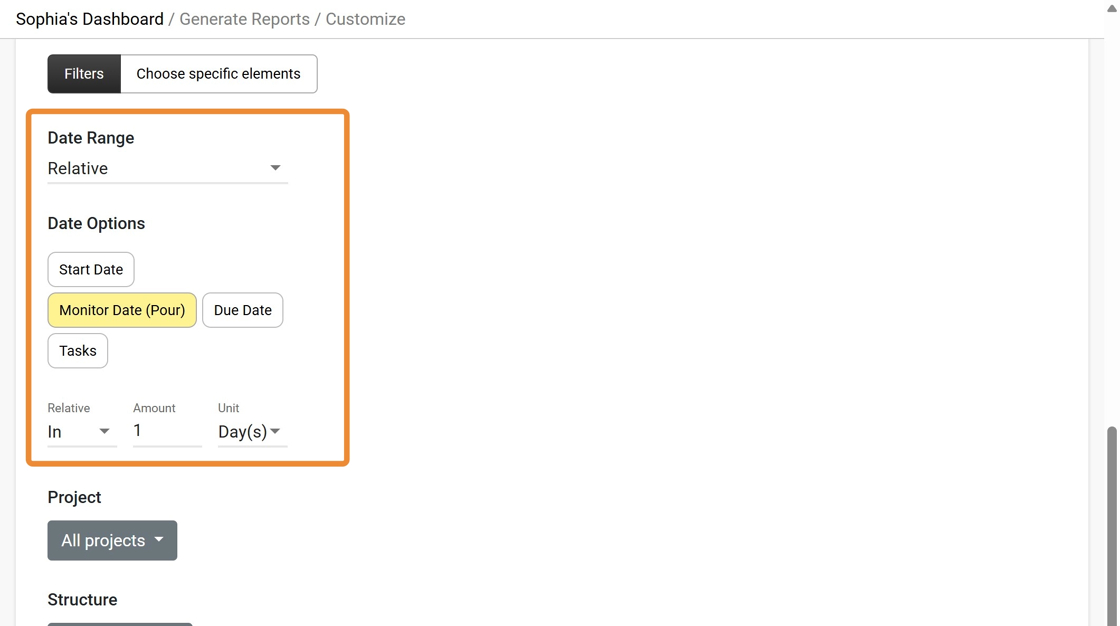
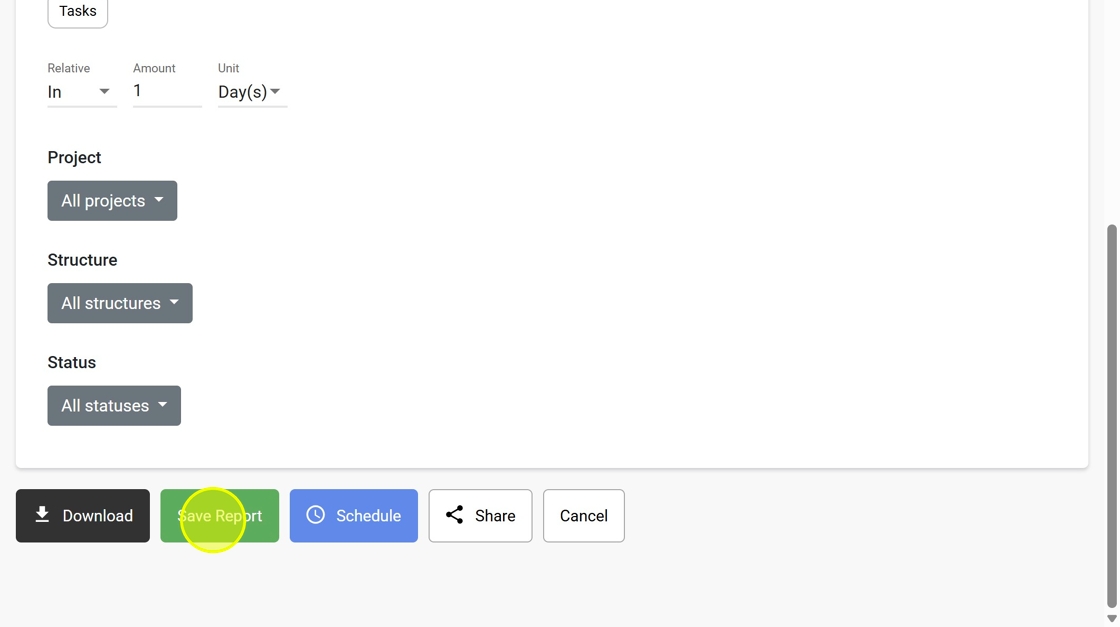
10 Further filtering of eligible Elements for the report can be done through the Project, Structure and Status filters.
11 Alternatively, specific elements can be selected instead of a more generic filter.
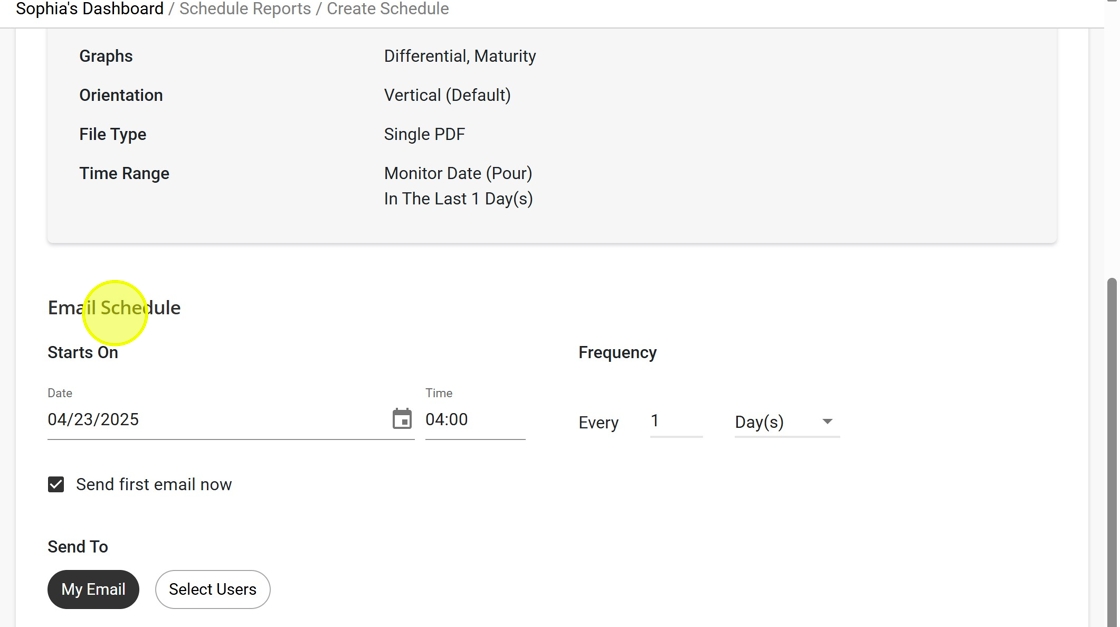
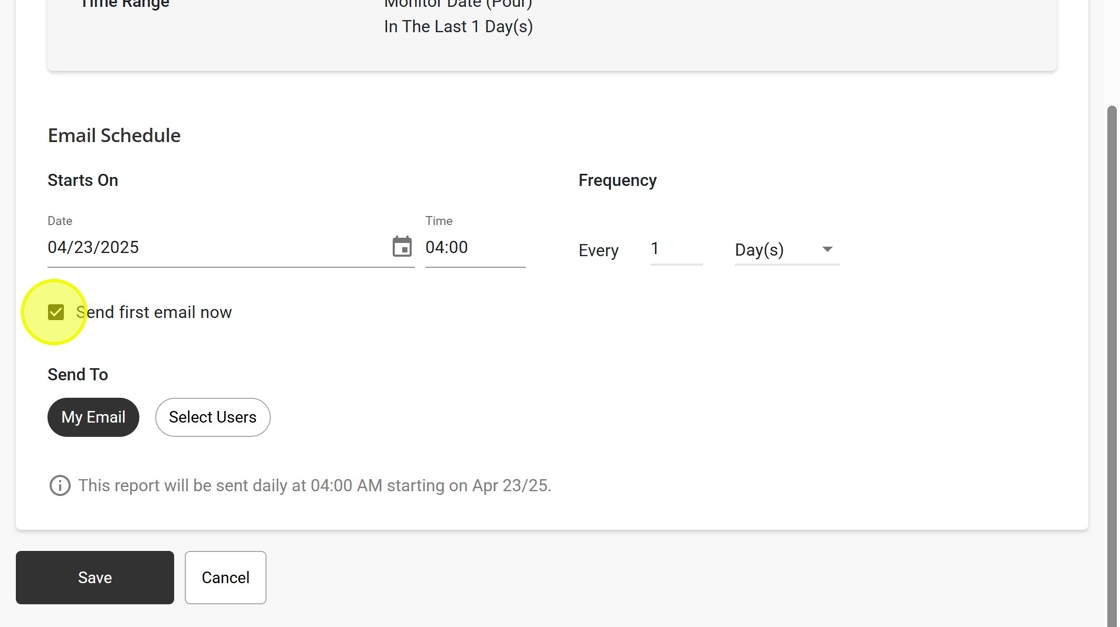
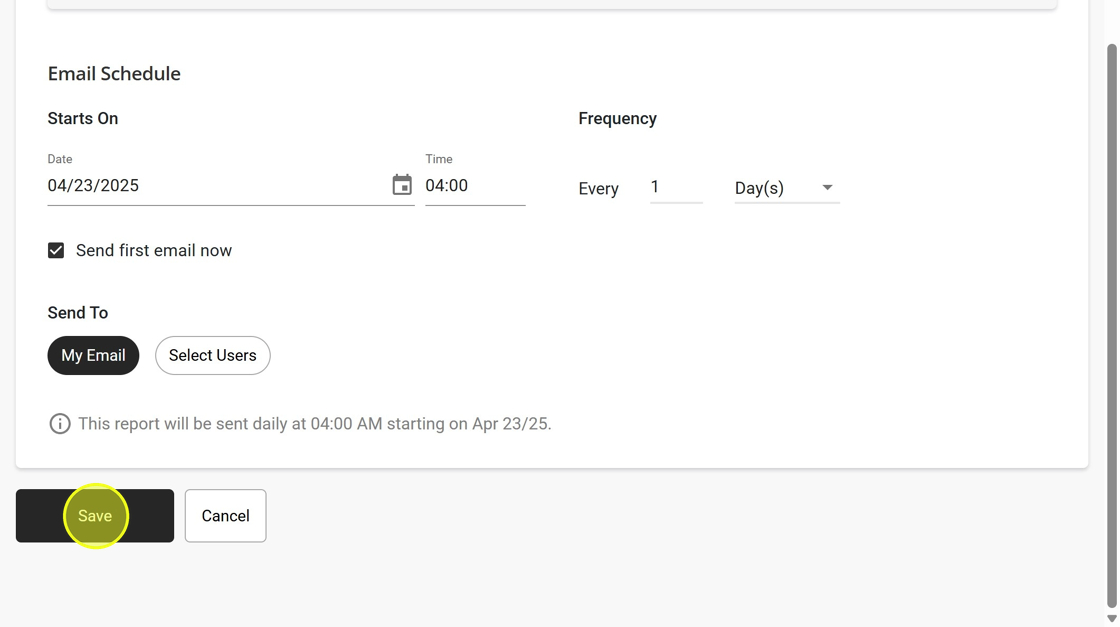
12 Once set up, the customized report can be saved with the Save Report button. Reports must be saved before a Schedule can be created.
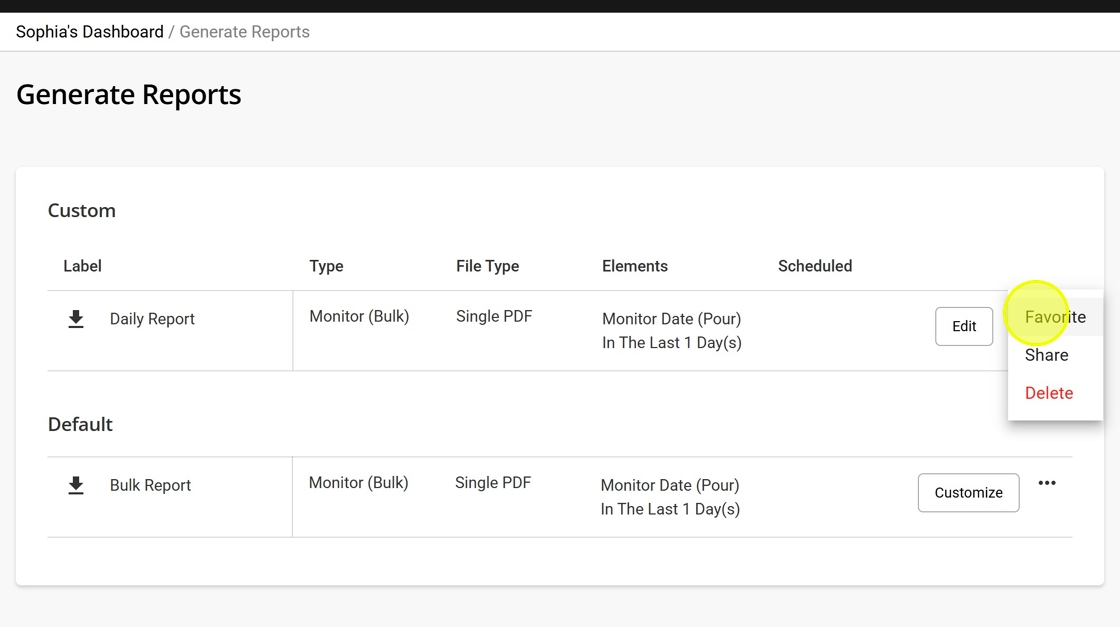
13 On the Generate Reports page, customized reports will be shown under the Custom section.
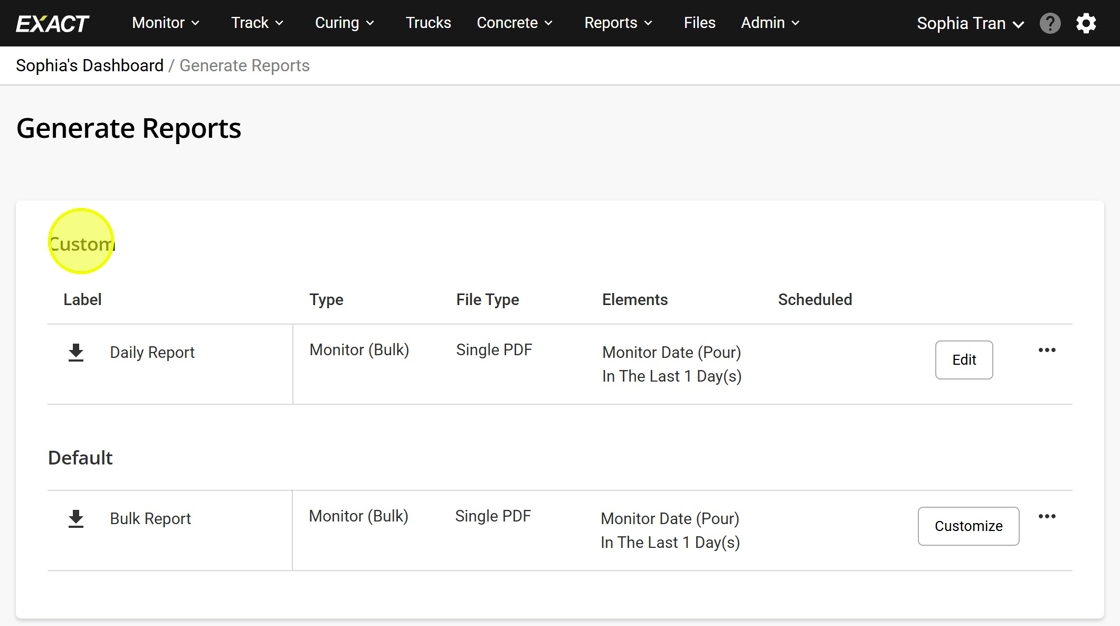
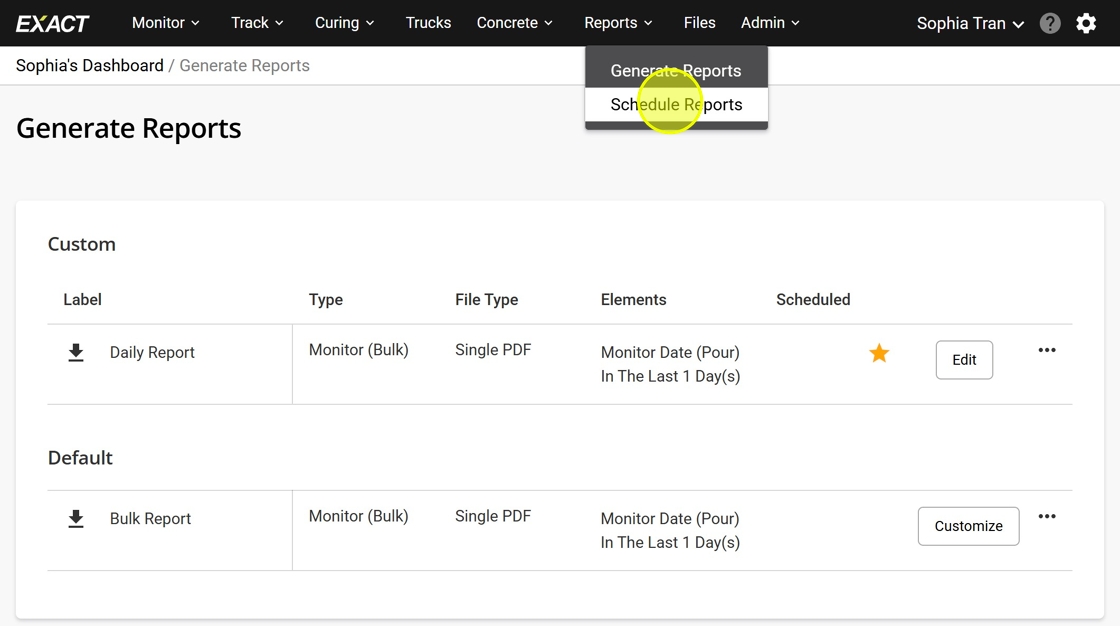
14 Custom reports can be Shared and Favorited from the Generate Reports page.